
Immunisation Stock Report
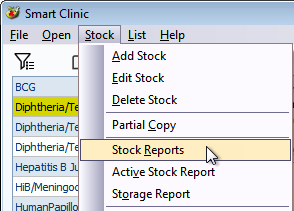
Open Stock Reports from the Stock menu to review all stock activity
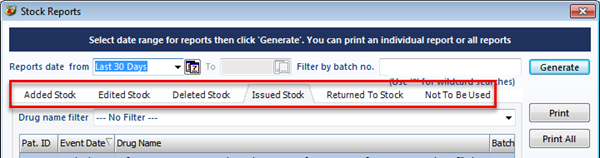
The stock activity will get extremely vast over time, so a search filter will be displayed with the default set to show all stock for the last 30 days. Use the drop down list option to select from a quick list of date ranges or click the calendar button beside the drop down list to be more specific

The Stock Report includes a series of tabs to separate the stock data:
- Added Stock - Date batch and drug name entered into stock
- Edited stock
- Deleted stock - including disposal report
- Issued stock with batch search to identify which batches were issued to each patient
- Returned to stock management
- Marked as not to to be used (date/time)
A drug name filter allows you to show specific drugs in a tab, which will total them at the bottom of the screen. This is very useful under Issued Stock as it also includes the patient identifier so that you can cross reference the list with a Vision search.
Batch Search
Issued Stock also provides a batch search option, should you need to locate which batch has been issued to patients.
![]()
Enter a batch number of partial number which may include a wildcard character should you need to include more than one batch with similar characters. The wild card character represents "any other characters". Click the Generate button to display the results.
The results shown in the list may also be printed.
Returned To Stock
This provides evidence of unused vaccines removed from the fridge and being returned to stock.
It lists the returned date/time, batch details, quantity returned and Vision operator that carried out the action.
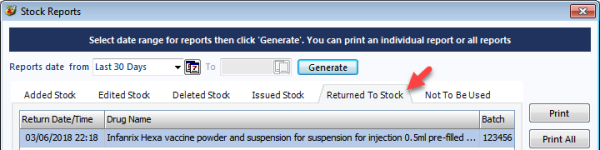
This information may also be printed.
"Not to be Used" Report
This provides a report on all immunisation stock flagged as "Not to be Used".

Note: If a batch marked as not to be used is returned to stock or deleted from stock it will not show in this report
Export Stock Reports
Stock reports can be exported to Microsoft Excel by clicking the
Export button
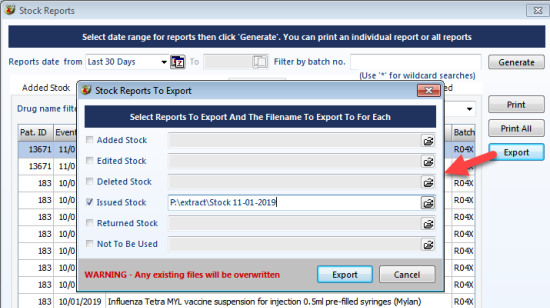
- Tick the report(s) you would like to export
- Then click the folder button at the end of the line to select a folder location and type in a name for your exported report
- Then click the Export button in the open dialog box shown above.
Note: These reports are exported as CSV files.
